1. TAKE EVERYTHING OUT!
2. PURGE
Here are my rules for deciding what to toss (or donate):
-Anything that doesn’t fit (no you should not keep things that you “may fit into some day,” if that day comes treat yourself to a new wardrobe :))
-Anything that is uncomfortable
-Anything that is damaged or is too worn
-Anything that you know you will never wear (be honest with yourself on this one)
Try to stay away from keeping things because of:
-How much you paid for the item
-Thinking you may wear it if you ever …. (fill in the blank)
-Sentimental value (if you must keep it put it in a keepsakes box in storage)
If you are short on space you may also want to set guidelines for yourself on the number of each category you will keep. For example: 4 jeans, 10 tops, 8 sweaters, etc. This will be easier to put a number on everything now that you have it sorted into categories.
Now that you have your guidelines you are ready to purge! This is always the fun part for me! Look at your categories. Pick one to start with (probably one of the smaller categories so that you don’t get overwhelmed). I know this is going to sound tedious but I promise it makes a difference; pick up each item one by one to make your decision to keep or toss. Go through your guidelines. Some things will be easy: it’s ripped=toss, too small=toss, hate it=toss. Other things will be hard to decide. If you are undecided at first keep it. Then once you have decided everything you are for sure tossing, look at the keep pile. Do you still have 20 sweaters? Try to pick 5 that you can part with.
After you have decided what to part with you can decide what to do with those items. Some options might be: tossing the item or reusing it as a cleaning rag (if it is damaged or too worn to donate or sell), selling it (ebay, garage sale, garage sale website, local consignment shop), selling to an online company (thredup), donate (to a charity, shelter, friends or family).
3. PUT EVERYTHING BACK
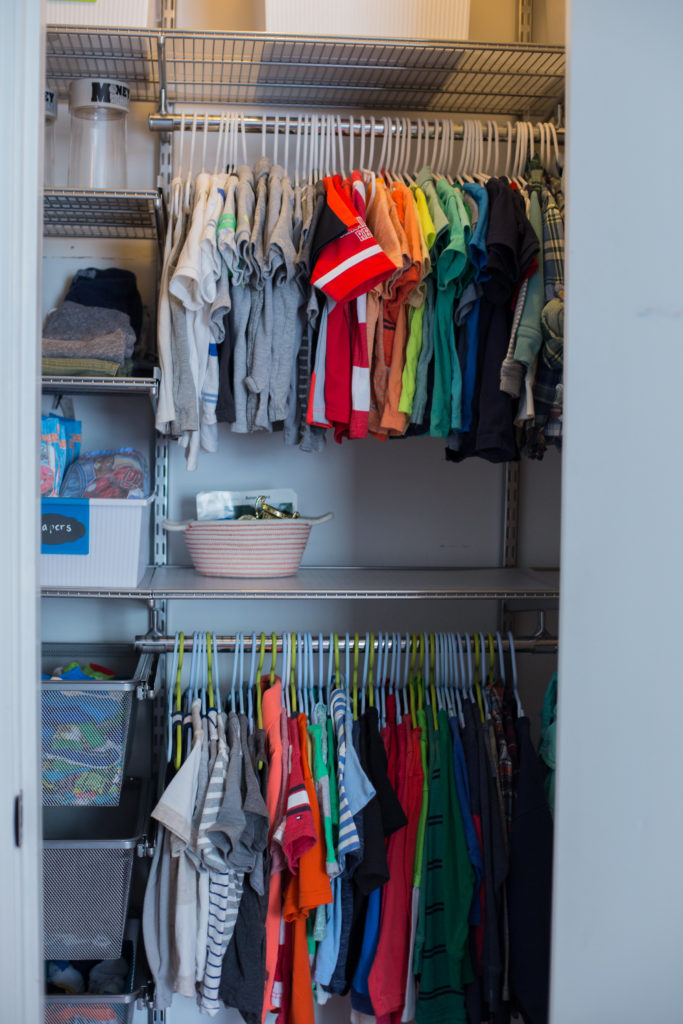
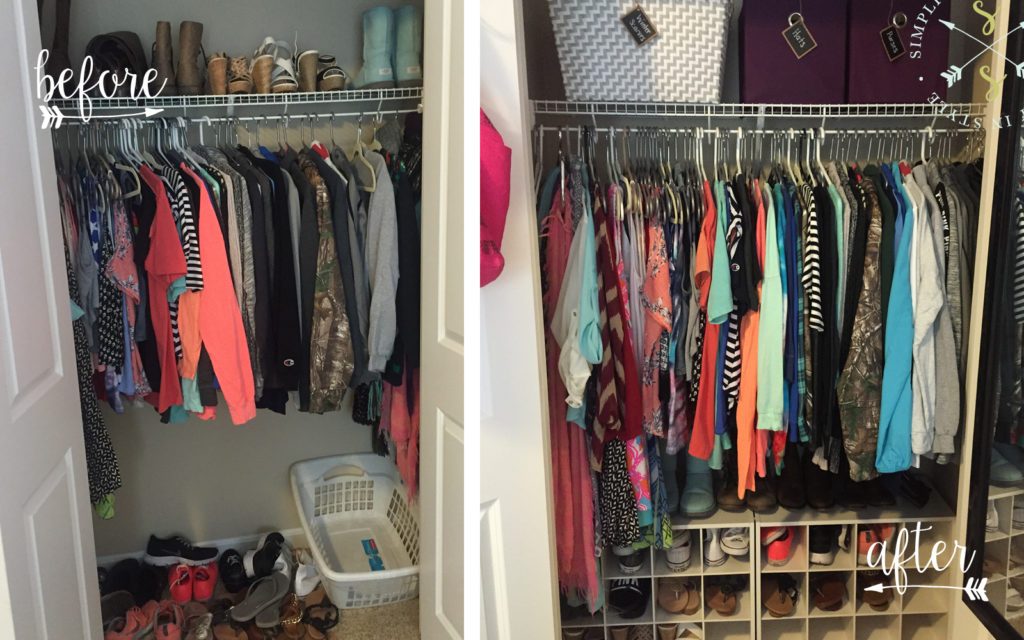
Once you have gone through all of your categories you are ready to start deciding how to put things back in. Before you begin, I have a few guidelines for this step as well. If you just hang everything back in any which way you won’t be able to find the things you are looking for and probably will end up wearing the same few things over and over because you forget about the rest. Start by putting things back in by category. Keep all jeans together, all sweaters, all sleeveless, etc. As you put them back in keep like colors together. I like to stick with the old ROY G. BIV. Patterned items can be placed within the color categories.It is also important to think about where things are going to go. This step can be as simple as just putting things pack on the rod and maybe adding a few new baskets or over-the-door organizers to keep things things organized, or it could mean a whole new closet layout. This will really depend on your needs. Here are a few products that I always recommend to my clients:
Hangers
I always recommend the non-slip huggable hangers. This can be an expensive investment, but they really do change the overall look of the closet. They also really are non-slip and they don’t leave weird creases in your sweaters or other delicate items.
Shoe Storage
There are so many options here: over-the-door hanging solutions, clear shoe boxes, or floor cubbies. You have to choose which works best for you.
Scarves
You can do a few things with scarves: put them in a basket, fold them and put them in a drawer using drawer dividers, or hang them from a scarf organizer (you can also DIY one of these using shower curtain rings).
Closet Systems
I LOVE the ELFA system from the Container Store (p.s. it’s on sale right now!). They have also just launched a new closet line, TCS Closets. If you are ready to totally change the layout of your closet, these are my go to choices.

